If you manage a server using FTP, then it is highly likely that at some point you will have edited a file. In FTP, you would have had to download the file to your computer, edit it, and then upload it back to replace the existing file. Although this works, it is rather tedious.
Do you want to learn a simple and efficient way to modify configuration files, scripts, or web pages on the fly? If so, this article is for you!
You might think that editing files on remote servers is a complicated and fiddly task, but it is actually quite simple and fast with SSH and nano. You don’t need to install any software on your local machine, or transfer files back and forth between your computer and the server. You can just open a terminal, connect to the server, and start editing files with nano.
In this article, you will learn how to use SSH and nano to edit files on remote servers.
But first, let’s understand what Nano is.
What is Nano?
Nano is a command line based text editor. It is pretty similar to other text editors that you might have used in the past with one key difference – you don’t need a graphic user interface to use it.
When editing files on a server, knowing how to use nano will come in handy. You can’t always rely on GUI-based editors, especially if you’re working on a headless server or a low-resource machine. Nano is lightweight, fast, and reliable, and it works well with SSH.
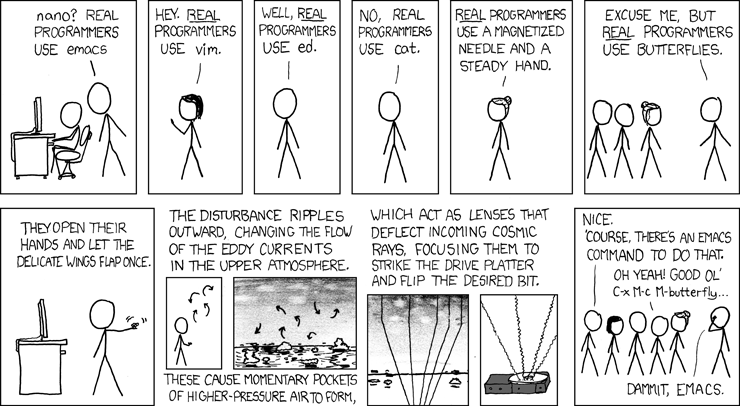
There has always been a tussle in the Linux community to choose the best text editor. Some people swear by Vim, Emacs, Sublime Text, or other editors, and some even argue that the choice of text editor reflects one’s personality and skills. The following XKCD comic clearly illustrates this!
That being said, nano is a good choice for beginners, because it is easy to learn, intuitive to use, and has enough features to get the job done.
But don’t take our word for it. According to a recent survey by StackOverflow, nano is still a very popular text editor among Linux users, with nearly 9% of people regularly using it. That means that thousands of Linux users prefer nano over other editors, and you can join them too!
So, are you ready to learn how to edit files on remote servers with SSH and nano?
Prerequisites
Before you start editing files over SSH using nano, you should have the following:
- Access to a remote server: You need to have a remote server that you can connect to via SSH. You can use any server that supports SSH, such as Linux, Windows, or even macOS. You also need to know the server’s IP address or hostname, the username and password (or SSH key) for logging in, and the port number for SSH (usually 22).
- A terminal emulator: You need to have a terminal emulator on your local machine that can run SSH commands. You can use any terminal emulator that you are comfortable with, such as iTerm, PuTTY, or even the built-in Terminal or Powershell utility.
If you have all the prerequisites, you are ready to edit files over SSH using nano. Let’s get started!
How to Use Nano
In this section, we’ll go through the steps of editing files over SSH using nano. But first, here is a quick refresher on connecting to your remote server using SSH. If you are connecting to a RunCloud server, you can refer to our post on connecting to the server via SSH.
How to connect to a remote server using SSH
To connect to a remote server using SSH, you need to open your terminal emulator and type the following command:
ssh username@hostname -p portReplace ‘username‘ with your username on the remote server, ‘hostname‘ with the IP address or hostname of the remote server, and ‘port‘ with the port number for SSH (usually 22). For example:
ssh [email protected] -p 22
ssh [email protected] -p 22
You will then be prompted to enter your password or SSH key passphrase. After that, you should see a welcome message and a command prompt from the remote server.

How to open a file in nano
Once you have logged in to your server, you can start editing files. To open a file in nano, you need to type the following command:
nano filenameReplace ‘filename‘ with the name of the file you want to edit. For example:
nano hello.txtIf the file doesn’t exist, nano will create a new file with that name. If the file does exist, nano will open it and show its contents.

You can edit the file by typing, deleting, or inserting text as you normally would with your keyboard. Nano will show the current line number, column number, and file name at the bottom of the screen.

How to save and exit nano
To save the file, you need to press Ctrl+O. Nano will ask you to confirm the file name and then save the file. Press ‘Enter’ to confirm it.
To exit nano, you need to press Ctrl+X. Nano will ask you if you want to save the file before exiting. You can press Y to save the file, or N to discard the changes.
How to search and replace text in nano
To search for specific text in the file, you need to press Ctrl+W and type the text you want to find. Nano will highlight the first occurrence of that text and move the cursor to it. You can press Ctrl+W again to find the next occurrence, or Alt+W to find the previous occurrence.
To replace text in the file, you need to press Ctrl+\ and type the text you want to replace, and then the text you want to replace it with. Nano will ask you if you want to replace the first occurrence of the text. You can press Y to replace it, N to skip it, A to replace all occurrences, or Ctrl+C to cancel the operation.
How to copy, cut, and paste text in nano
To copy text in the file, you need to mark the beginning of the text by pressing Alt+A and then move the cursor to the end of the text. The marked text will be highlighted. You can then press Alt+6 to copy the text to the clipboard. To cut text in the file, you need to mark the text as described above and then press Ctrl+K to cut the text and store it in the clipboard.

To paste text in the file, you need to move the cursor to the position where you want to insert the text, and then press Ctrl+U to paste the contents of the clipboard.
Undo and Redo in Nano
If you make a mistake when editing a file in nano, then you can undo and redo changes you make to the text. This can be useful if you want to revert a mistake or restore deleted text. To undo the last change, press Alt+U. You can undo multiple changes by pressing Alt+U repeatedly.
If you undo too many times, you can revert the Undo operation by pressing Alt+E. You can redo multiple changes by pressing Alt+E repeatedly.
Note that undo and redo only work for the current session. If you save and exit the file, the undo and redo history will be cleared.
How to enable syntax highlighting in nano
Syntax highlighting is a feature that makes the code more readable by coloring different parts of the code according to their function. Nano supports syntax highlighting for many programming languages, such as C, Python, Java, PHP, etc.
To enable syntax highlighting in nano, you need to use the -Y option when opening the file, and then specifying the name of the language. For example:
nano -Y php wp-config.php
This will open the file wp-config.php with syntax highlighting for PHP.
Other nano commands and shortcuts
Nano has many commands and shortcuts that you can use to perform various actions. You can see a list of the most common commands and shortcuts at the bottom of the screen. The ^ symbol means Ctrl. For example, ^G means Ctrl+G.
Some of the most useful commands and shortcuts are:
Ctrl+G: Display the help menuCtrl+C: Display the current line and column numberCtrl+R: Read a file and insert it into the current fileCtrl+Y: Go to the previous pageCtrl+V: Go to the next pageCtrl+A: Go to the beginning of the current lineCtrl+E: Go to the end of the current lineCtrl+Z: Suspend nano and return to the shell

You can also use the arrow keys, the Page Up and Page Down keys, and the Home and End keys to move the cursor around the file.
Conclusion
In this article, you’ve learned how to use the nano text editor, a simple and easy-to-use command line text editor for Unix and Linux operating systems. You’ve learned how to open and create files, edit text, search and replace text, cut and paste text, save and exit files, and more. You’ve also learned some of the basic keyboard shortcuts that make editing faster and easier.
But did you know that you don’t need to be a Linux expert to manage your servers?
Do you want to save time and avoid mistakes that could crash your website? Do you want the flexibility of a CLI along with the user-friendliness of a dashboard?
If you answered ‘Yes’, then you need RunCloud!
RunCloud is a cloud server management platform that lets you manage your servers, websites, and applications from a single dashboard. You can easily install, configure, and update your server software, monitor your server’s performance, and secure your server with SSL certificates and firewall rules.
But the best part is – you don’t need to fiddle with the terminal and editors anymore. You can directly edit and change any server settings and configuration files directly from the RunCloud dashboard. You can also use the RunCloud file manager to upload, download, and edit your files with just a few clicks.
RunCloud supports all major cloud providers, such as AWS, Google Cloud, DigitalOcean, Vultr, and more. You can also connect your own servers or VPS to RunCloud and enjoy the same features and benefits.
Start using RunCloud today and see the difference for yourself.


